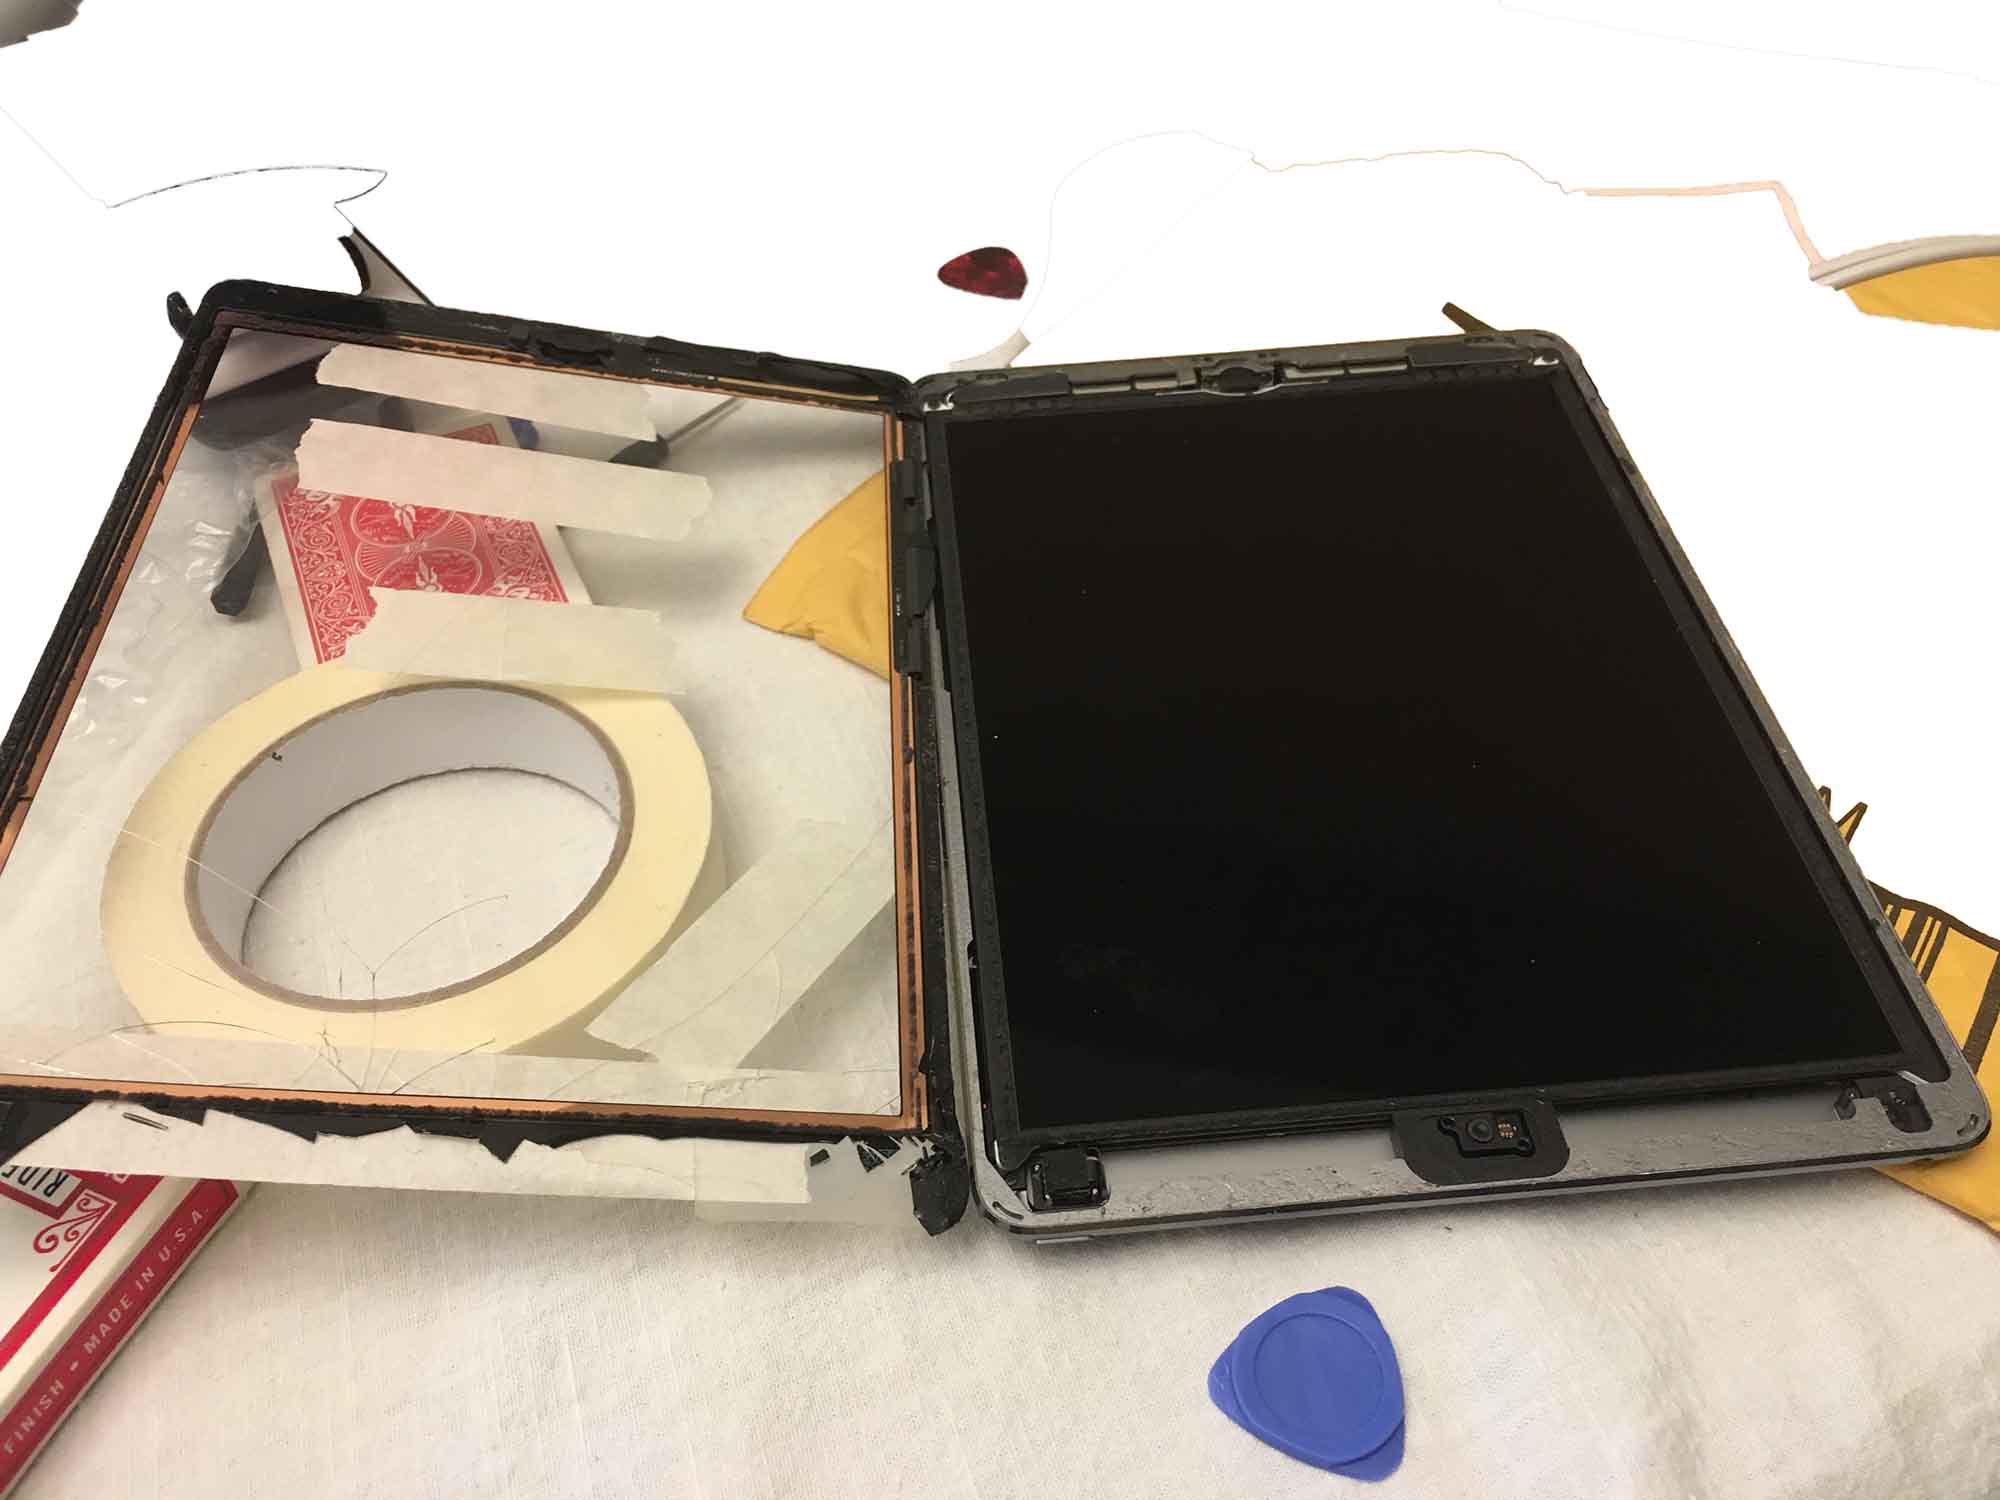
Replacing iPad Air Screen
Replacing an iPad Air screen turned out to be much simpler than what iFixit made it seem to be (43 steps!) and probably the most accomplished thing I did all winter break. However it did take a long time (maybe because I was just being to precautious). But to be honest, 30 out of the 43 steps were instructions on how to deattach the touch screen from the iPad, since there was a lot of adhesive. The steps are pretty simple though, heat then cut and repeat! There doesn’t appear to be too many places where you could screw up and destroy your iPad so it’s definitely quite safe.
Costs:
$20 replacement touchscreen
1.5 hours of time (with both my father and I working together… so 3 hours? We spent a good 30 minutes watching and rewatching the tutorial)
If you’re willing to put in the time and procure all the resources (like plastic openers and tiny screwdrivers), it’s definitely worth the time and effort since $249 is expensive to replace a screen. Also the more you do it the better you get. I think the biggest part of our time was to make sure we weren’t breaking the iPad itself and also attempting to remove the shattered part of the touchscreen from the adhesive.
Suggestions:
- Wear gloves so you don’t add your fingerprints onto the LCD display
- Use a blowdryer instead to heat the iPad
- Instead of guitar picks, playing cards also work.
I found these two sites to be very helpful:
https://www.ifixit.com/Guide/iPad+Air+Wi-Fi+Front+Panel+Assembly+Replacement/25038
https://www.youtube.com/watch?v=R8xon3p2Nns
